Anodizing aluminum design guide: types, dimensions and callouts
Learn how anodizing changes aluminum dimensions, which MIL-A-8625 types and classes to choose, and how to specify the finish on engineering drawings.
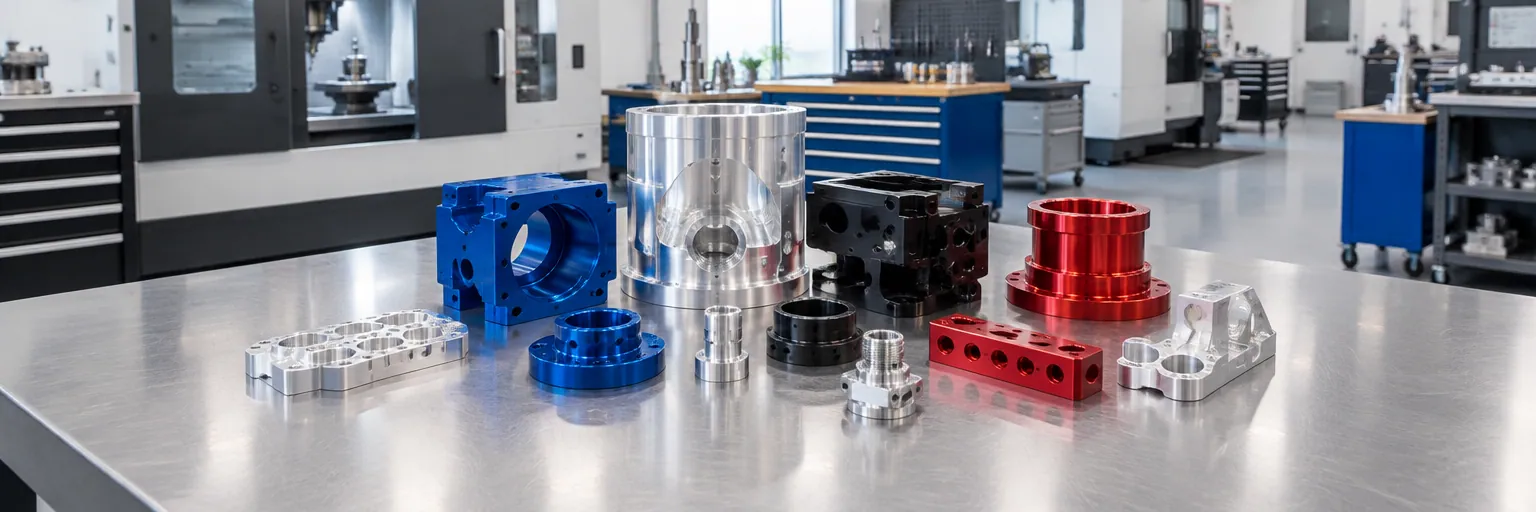
Anodizing grows a hard, porous oxide layer directly out of the surface of a metal part in an electrolytic acid bath. It is the defining finish for aluminum, giving you corrosion protection, wear resistance, electrical insulation, and optional dyed color with closer dimensional control than powder coating. Because the oxide grows both into and out of the base metal, you must account for dimensional change, masking, and alloy choice on your print.
What anodizing is and what metals it fits
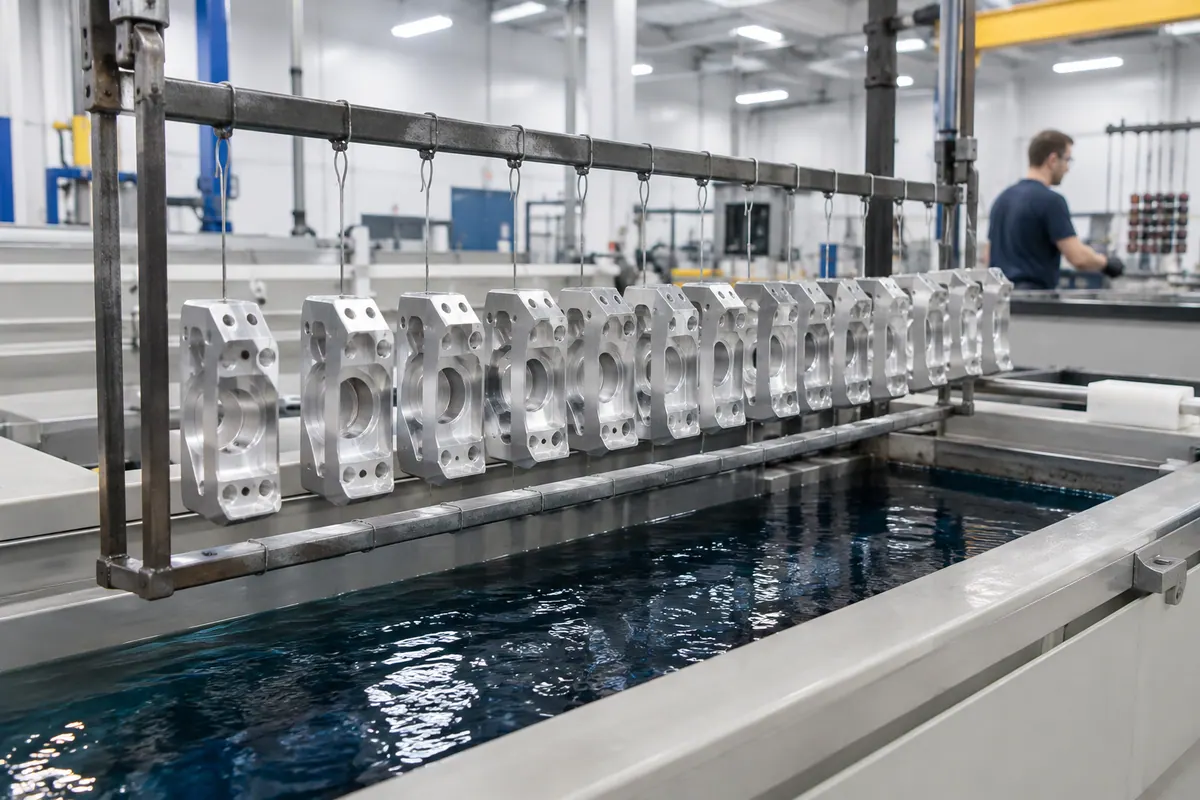
Anodizing is an electrolytic coating process run in tanks. A shop wires the part to a rack, submerges it in an acid electrolyte, and makes the part the anode. Electrical current converts the outer metal into a hard, porous oxide layer grown from the substrate itself. That porous oxide can then take a dye and is sealed to lock in corrosion resistance and color.
Aluminum is rated excellent for anodizing, and the process is its signature finish. Alpha-beta titanium is rated good for color anodizing used to identify parts, though it does not form a hard wear coat. Zinc and magnesium can also be anodized. Steel cannot be anodized because the process requires a metal that grows a stable surface oxide; steel parts are plated, painted, or conversion coated instead.
When to use anodizing vs. other finishes
Use anodizing on aluminum when your part needs corrosion resistance, a hard wear surface, electrical insulation, or a dyed cosmetic finish without the thick buildup of paint or powder. Use titanium anodizing when you need color coding for part identification.
Do not anodize a surface that must conduct electricity or carry a ground. As published guidance from Hubs notes, an anodized layer is a very poor electrical conductor and is relatively brittle compared with powder coating. If an anodized part has a grounding point, you must mask that area bare or penetrate the oxide layer during assembly.
When anodizing is not the right fit, consider these alternatives:
- Chromate conversion coating when you need electrical conductivity and paint adhesion more than cosmetic appearance.
- Powder coating when you want a thick, tough color coat across any metal, including steel.
- Painting for general color and coverage on metals that do not anodize.
Anodizing types and classes under MIL-A-8625
MIL-A-8625 is the governing specification for anodic coatings on aluminum and aluminum alloys. Calling it out on your drawing invokes standard requirements for coating weight and thickness, sealing, corrosion resistance, and paint adhesion.
The standard organizes coatings by acid bath and thickness into the following types:
- Type I and Type IB: Chromic acid anodizing.
- Type IC: Non-chromic acid anodizing.
- Type II: Standard sulfuric acid anodizing.
- Type IIB: Thin sulfuric acid anodizing.
- Type III: Hard anodic coating for heavy wear resistance.
Each type is paired with a class that specifies whether dye is added:
- Class 1: Undyed (natural oxide appearance).
- Class 2: Dyed.
Dimensional change, alloy choice and surface prep
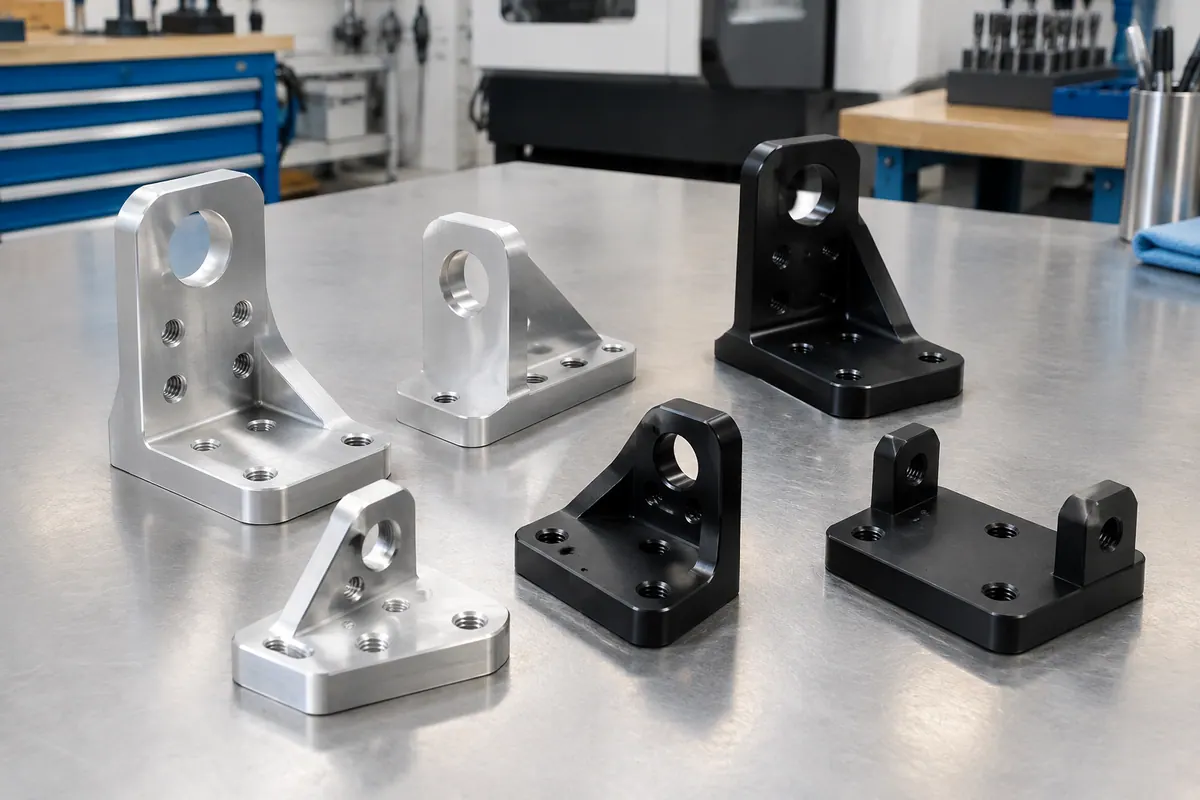
Because the anodic oxide grows partly into the metal and partly outward from the original surface, every anodized face grows by a fraction of the coating thickness. External diameters and thicknesses get slightly larger, while internal bores and threads get tighter. Type III hard anodizing produces the largest dimensional change. For precision features, threads, and close-fitting bores, either mask the feature or size the pre-anodize dimensions to allow for growth. Confirm exact growth allowances with your anodizer.
The aluminum alloy you select sets the visual outcome:
- Wrought aluminum grades anodize to a clear, even finish and take dye well.
- Cast alloys and grades high in copper or silicon turn out gray or blotchy and dye poorly.
Anodizing reproduces whatever texture is underneath it. Machining marks, scratches, and handling dents look more visible after anodizing, not less. Polish or bead blast the part before anodizing if you want a uniform appearance. Bead blasting before anodizing produces an even matte finish, though blasting alters critical dimensions and should be kept off tight-tolerance faces. If a part is welded before anodizing, the weld bead and heat-affected zone will show in a different shade.
Common mistakes to avoid
- Leaving sharp corners on Type III parts: The anodized oxide is hard but brittle, and it chips at sharp edges under a hard coat. Add radii to edges before anodizing.
- Anodizing with steel hardware installed: Steel inserts, threaded inserts, and any dissimilar metals are attacked by the acid bath and contaminate the tank. Mask them completely or install hardware after anodizing.
- Bolting a ground strap straight onto an anodized face: The layer insulates. Mask the pad on the print or use hardware that bites through the coating.
- Expecting a color name to guarantee a match: Dye shade shifts across alloys, coating thicknesses, and tank batches. An unsealed coating also stains and fades, so always require sealing and specify critical cosmetic colors against a physical limit sample.
- Forgetting the rack contact mark: Every part must be wired or clamped to an electrified rack in the tank, leaving a small bare spot at the contact point. Tell the shop where that bare contact mark is allowed to sit.
How to specify anodizing on a drawing
Give the anodizer a complete note on the drawing rather than writing a generic callout. A clear specification includes:
- The governing standard, type, and class, for example: Anodize per MIL-A-8625, Type II, Class 1 (undyed) or MIL-A-8625, Type III, Class 2 (dyed).
- Whether part dimensions and tolerances apply before or after anodizing.
- Masking callouts showing every thread, precision bore, mating datum, or electrical ground pad that must stay free of coating.
- Allowed rack contact locations where a bare electrical contact mark is acceptable.
- Pre-treatment and sealing notes, such as bead blasting for a matte texture, sealing requirements, and a target color sample for Class 2 dyed parts.
Design rules at a glance
| Rule | Value | Note | Source |
|---|---|---|---|
| Governing aluminum standard | MIL-A-8625 | Covers coating type, class, weight, thickness, sealing, corrosion resistance, and paint adhesion. | [1] |
| Chromic and non-chromic types | Type I, Type IB, Type IC | Type I and IB use chromic acid; Type IC uses non-chromic acid per MIL-A-8625. | [1] |
| Sulfuric acid types | Type II, Type IIB | Type II is standard sulfuric acid; Type IIB is thin sulfuric acid per MIL-A-8625. | [1] |
| Hard coat type | Type III | Hard anodic coating for wear resistance; causes the largest dimensional change and chips on sharp edges. | [1] |
| Coating classes | Class 1 (undyed); Class 2 (dyed) | Applies across MIL-A-8625 types; specify Class 2 colors against a physical sample and require sealing. | [1] |
| Aluminum suitability | Rated excellent | Wrought grades anodize clear and even; cast, high-copper, and high-silicon alloys look gray or blotchy. | [1] |
| Alpha-beta titanium suitability | Rated good | Used for color identification; does not form a hard wear coat. | [1] |
| Dimensional growth per face | Fraction of coating thickness | Oxide grows partly into and partly out of the surface; state whether dimensions apply before or after anodizing. | [1] |
| Electrical conductivity | Very poor conductor (insulating) | Mask grounding pads bare or penetrate the coating at assembly. | [2] |
Common questions
- Does anodizing make an aluminum part bigger or smaller?
- External dimensions get slightly larger and internal holes and threads get slightly smaller. Because the oxide layer grows partly into the metal and partly outward from the surface, every anodized face shifts by a fraction of the coating thickness, with Type III hard coat causing the largest change. Always state on your drawing whether dimensions apply before or after anodizing, and mask or oversize precision holes and threads.
- Can you anodize a part with steel inserts or pressed hardware?
- No, not without masking them completely. Steel inserts, threaded inserts, and other dissimilar metals are attacked by the acid bath and will contaminate the anodizing tank. Install hardware after the part is anodized, or call out complete masking over the inserts.
- Will anodizing hide machining marks or scratches?
- No. The anodic oxide grows directly from the base metal and reproduces the underlying surface texture, making tool marks, scratches, and handling damage more visible. If you want a uniform matte appearance, specify bead blasting or polishing before anodizing.
- Can an anodized surface carry an electrical ground?
- No. The anodized oxide layer is an electrical insulator. If your part needs a ground connection or conductive mating face, mask that area on the drawing so it stays bare, or use fasteners designed to bite through the brittle oxide layer.
- Why did my cast or welded aluminum part come out blotchy or uneven in color?
- Alloy chemistry and heat history control how the oxide forms and absorbs dye. Wrought aluminum alloys anodize clear and dye evenly, whereas cast alloys and grades high in silicon or copper turn gray or blotchy. Welding alters the local metal structure, so the weld bead and heat-affected zone anodize to a different shade than the surrounding metal.